| Menu |
Default |
Firmware IJV |
| 1 |
SQL |
|
0 → 9, NO RX. (‘0’ = Monitor, ‘NO RX’ = block Rx, on display indicated by - sign) |
|
To correctly adjust squelch levels, switch off the dual watch.
Each Memory, VFO or Band stores its own Squelch level automatically.
|
| 2 |
STEP |
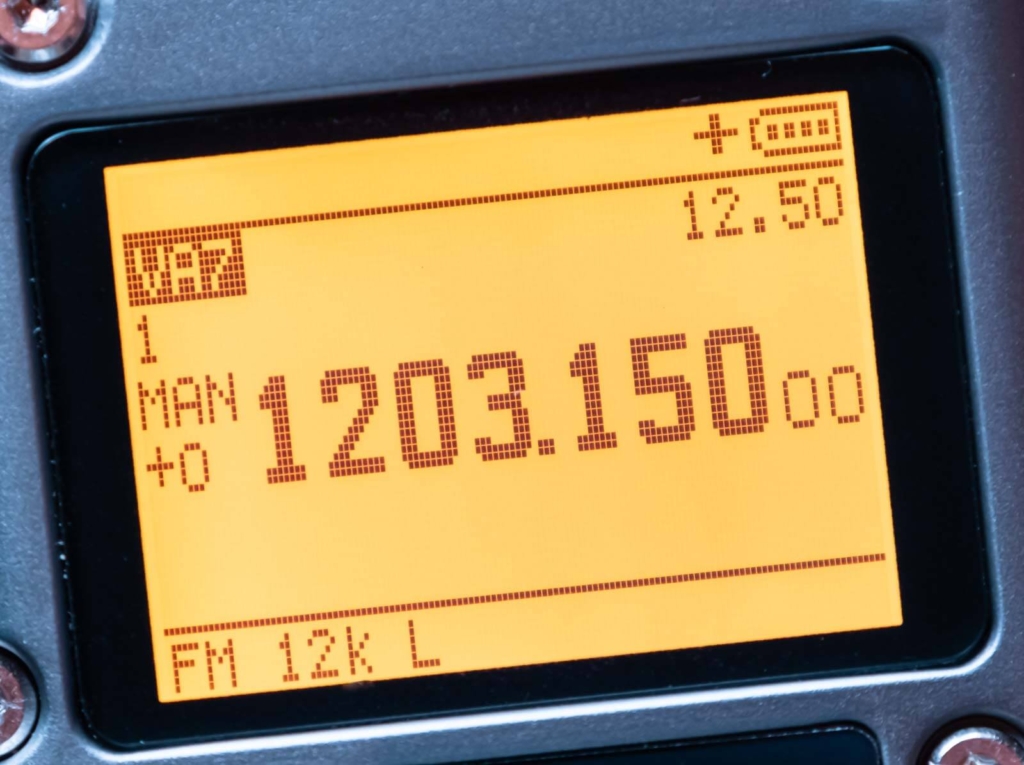
Hz : 10, 50, 100, 500
kHz: 1, 2.5, 5, 6.25, 8.33, 9, 10, 12.5, 20, 25, 50, 100 |
| 3 |
MODE |
|
FM, AM, DSB, CW, WFM | WFM = radio Broadcast da 76 a 108MHz. |
| 4 |
BW W/N |
|
Wide, Narrow, Ultra Narrow. |
|
Adjusts as well as the audio filter as the bandwidth.
Each channel stores the bandwidth automatically, thus without doing a ChSave.
The dot indicates the standard value for the reference BW.
|
|
Band Width |
Audio filter |
|
W |
25 kHz |
26 kHz |
|
W |
25 kHz |
23 kHz |
|
W |
25 kHz |
20 kHz |
|
W |
25 kHz |
17 kHz |
|
W |
25 kHz |
14 kHz |
|
W. |
25 kHz |
12.5 kHz |
|
N |
12.5 kHz |
10 kHz |
|
N. |
12.5 kHz |
9 kHz |
|
U |
6.25 kHz |
7 kHz |
|
U |
6.25 kHz |
6 kHz |
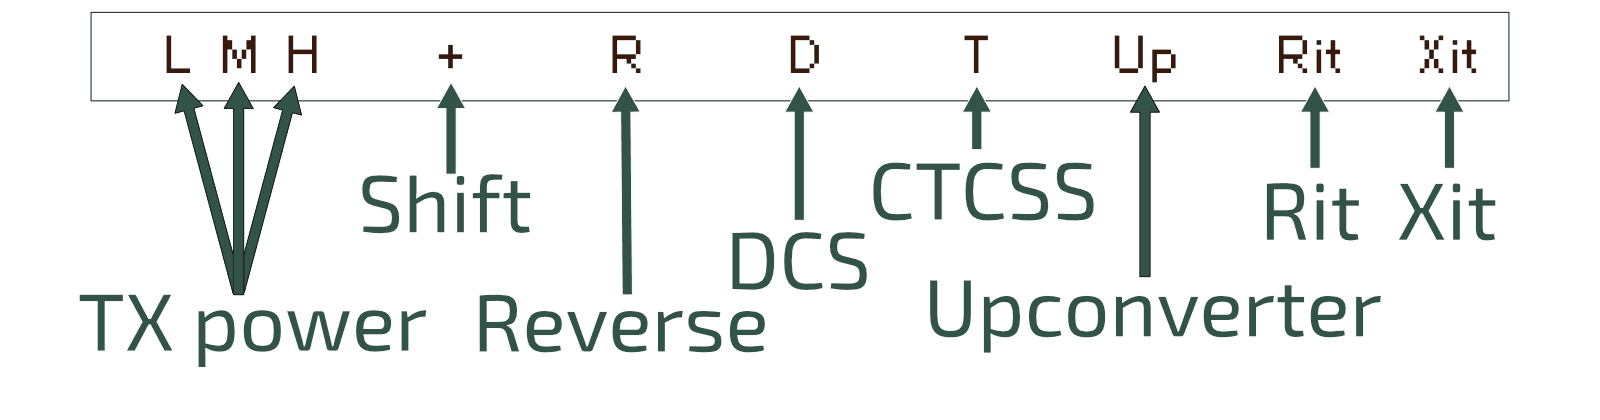
| 5 |
Tx PWR |
|
LOW, MID, HIGH |
| |
Each channel keeps its transmission power stored, if you want to set a new one use ChSave or via CHIRP. |
| 6 |
Shift |
OFF |
OFF, +, − | Direction Shift/Offset repeater bridges. |
| 7 |
Offset |
0.000MHz |
0 to 999.9999 MHz | Frequency shift/offset for repeater bridges. |
| 8 |
RxCTCS |
OFF |
OFF, 67…. 254.1Hz; CUSTOM | Sets a CTCSS subtone in reception (50 subtones). |
| 9 |
TxCTCS |
OFF |
OFF, 67…. 254.1Hz; CUSTOM| Sets a CTCSS subtone in transmission (50 subtones). |
| |
|
A CTCSS subtone can be customised in the CHIRP settings under Expert Settings. |
| 10 |
Rx DCS |
OFF |
OFF, D023N, D025N, 26…….754 | Set a DCS code in reception (208 codes). |
| 11 |
Tx DCS |
OFF |
OFF, D023N, D025N, 26…….754 | Sets a DCS code in transmission (208 codes). |
12
|
Tx TOT |
|
OFF, 30sec, 1min to 5min | Time-Out-Timer: Limits the maximum duration of the transmission.
|
| |
With notice at 10 and 5 seconds before closing. |
| 13 |
BusyCL |
OFF |
OFF, ON | Prevents transmission if the channel is busy. |
| 14 |
ChSave |
CH-001 |
1 to 200 |
| 15 |
ChName |
CH-001 |
10 characters max
With arrows ∧ Up / ∨ Down, select the desired character. Digits can be written directly with the keyboard.
Key M to move to the next character. EXIT back and delete. Always confirm the new name with the M.
|
| 16 |
ChCanc |
|
Delete stored channel. |
| 17 |
ChDisp |
NAME_S FREQ_L |
FREQ, CHANNEL, NAME, NAME_S FRQ_L, NAME_L FRQ_S. |
| |
In Single mode you can choose the font size for the channel name and its frequency, L = Large and S = Small. |
| 18 |
ChList |
0 ALL |
Channel Lists: Lists that group memories for scanning or viewing mode. The names of the lists are editable via CHIRP. |
| 19 |
PrSave |
|
Preset Save. Saves a preset set by you. Caution: This action may overwrite those already present in the preset menu. |
| 20 |
BLTime |
ON |
OFF, 5sec, 10sec, 20sec, 1min, 3min, RX/TX, ON |
| |
RX/TX: Assumes the exact time since the last transmission or reception. ON: always on.
|
| 21 |
BLMode |
RX/TX |
RX/TX, OFF |
| |
Determines the event that causes the display to light up. |
| 22 |
LCD |
NORMAL |
NORMAL, INVERTED| INVERTED is better for night vision. |
| 23 |
BEEP |
OFF |
ON, OFF | Beep sound when buttons are pressed. |
| 24 |
Sc REV |
SLOW |
SLOW, FAST, SEARCH, LOG, TIME | Scan Revert |
| |
Set scan resumption.
SLOW e FAST CARRIER: resumes scanning after the signal has disappeared.
SEARCH: stops when it finds a busy channel and stays there.
LOG: This will be used in the future to link the radio to an app.
TIME: Stops on busy channel for 5 sec. then starts again.
|
| 25 |
KeyLok |
OFF |
OFF, AUTO | AUTO locks the keyboard after 10 sec. of inactivity. The keyboard can be activated temporarily with a long press on the F#🗝 key. |
| 26 |
Tx STE |
ON |
ON, OFF | It eliminates the tail tone, so the small rustling noise that occurs when releasing the PTT when using a bridge.
|
| |
When the PTT is released, it turns off the subtone and then immediately disconnects the carrier. (STE: Squelch Tail Eliminator)
Radios engaging the repeater, when the PTT is released, immediately switch off the subtone, which then drops the repeater, but the carrier still remains active for a second, so that there is still a carrier on the bridge receiver that mutes the repeater's audio and does not make the hissing sound.
|
| 27 |
Rx STE |
OFF |
OFF, 1*100ms to 10*100ms | Eliminates head hum in Rx. When the bridge carrier is released, it closes the audio for the set time. |
| |
With Rx STE active, when the carrier is released, the audio will be muted for a few ms (set by the menu), thus avoiding the hiss caused by a too-slow squelch. |
| 28 |
Scramb |
OFF |
OFF, 2600 to 3500 Hz | Encrypts voice with an obfuscating frequency. (FM only). |
| 29 |
Mic dB |
+15dB |
+1.1dB to +15.1dB | Increases or decreases microphone sensitivity. |
| 30 |
MicBar |
OFF |
ON, OFF |
| |
It inserts a modulation level bar in the centre of the screen.
Useful for DSB transmission, in fact for optimal modulation it is best not to exceed half the scale, so the Mic dB level should not exceed 4 dB.
|
| 31 |
Compnd |
OFF |
OFF, TX, RX, RX/TX |
| |
Compander: compressor/expander filter, enhances vocals (FM only). |
| 32 |
VOX |
OFF |
OFF, 1 to 10 | Smaller = more sensitive. |
| 33 |
1 Call |
CH-001 |
F+9️⃣Call - One Key Call Channel. choice of single-button emergency call channel. |
| 34 |
Own ID |
|
102 | Set a personal ID. |
| 35 |
UPCode |
|
123 | Initial selective code. Assignable to each memory. Max. 10 characters. |
| 36 |
DWCode |
|
456 | Final selective code. Assignable to each memory. Max. 10 characters. |
| 37 |
LocMon |
ON |
OFF, ON| Local Monitor: DTMF and Selective side tone switch. (PTT + S2 = Tone 1750).
Allows you to monitor, listen locally to the tones sent by the radio. |
| 38 |
D RSP |
OFF |
OFF, RING, REPLY, BOTH | DTMF Response. Choose how the radio should react to the DTMF call. |
| 39 |
D Hold |
10s |
5s to 60s |
| 40 |
D PRE |
30*10ms |
|
| 41 |
D CALL |
OFF |
ON, OFF (Call waiting) |
| 42 |
D List |
NULL |
|
| 43 |
D Live |
OFF |
ON, OFF| DTMF Live. Activates DTMF real time decoding. |
| 44 |
PTT ID |
OFF |
OFF, DTMF CALL ID, DTMF BEGIN, DTMF END, DTMF BEG+END, ZVEI1 BEGIN, ZVEI1 END, ZVEI1 BEG+END, ZVEI2 BEGIN, ZVEI2 END, ZVEI2 BEG+END, CCIR-1F BEGIN, CCIR-1F END, CCIR-1F BEG+END; CCIR-1 BEGIN, CCIR-1 END, CCIR-1 BEG+END, ROGER Single, ROGER 2Tones, MDC 1200, Apollo Quindar.
CCIR-1F = 50 ms
CCIR-1 = 100 ms
|
|
Acoustic or digital signals sent at the start and/or end of the call. (7.5)
"MDC 1200" is the only tone that cannot be heard locally with "D Lmon" active, because it is an FSK modulation.
|
| 45 |
F Copy |
Fast Copy (Frequency Meter)
Analyses and identifies the frequency and CTCSS tone of a transceiver when one does not know how to operate the menus or has a faulty display.
It is necessary that the 2 radios are VERY close to each other, because the required signal must exceed -40dBm. The 2 radios must be almost in contact.
|
| 46 |
CtScan |
|
Starts CTC/DCS tone scanning on a given frequency. |
| 47 |
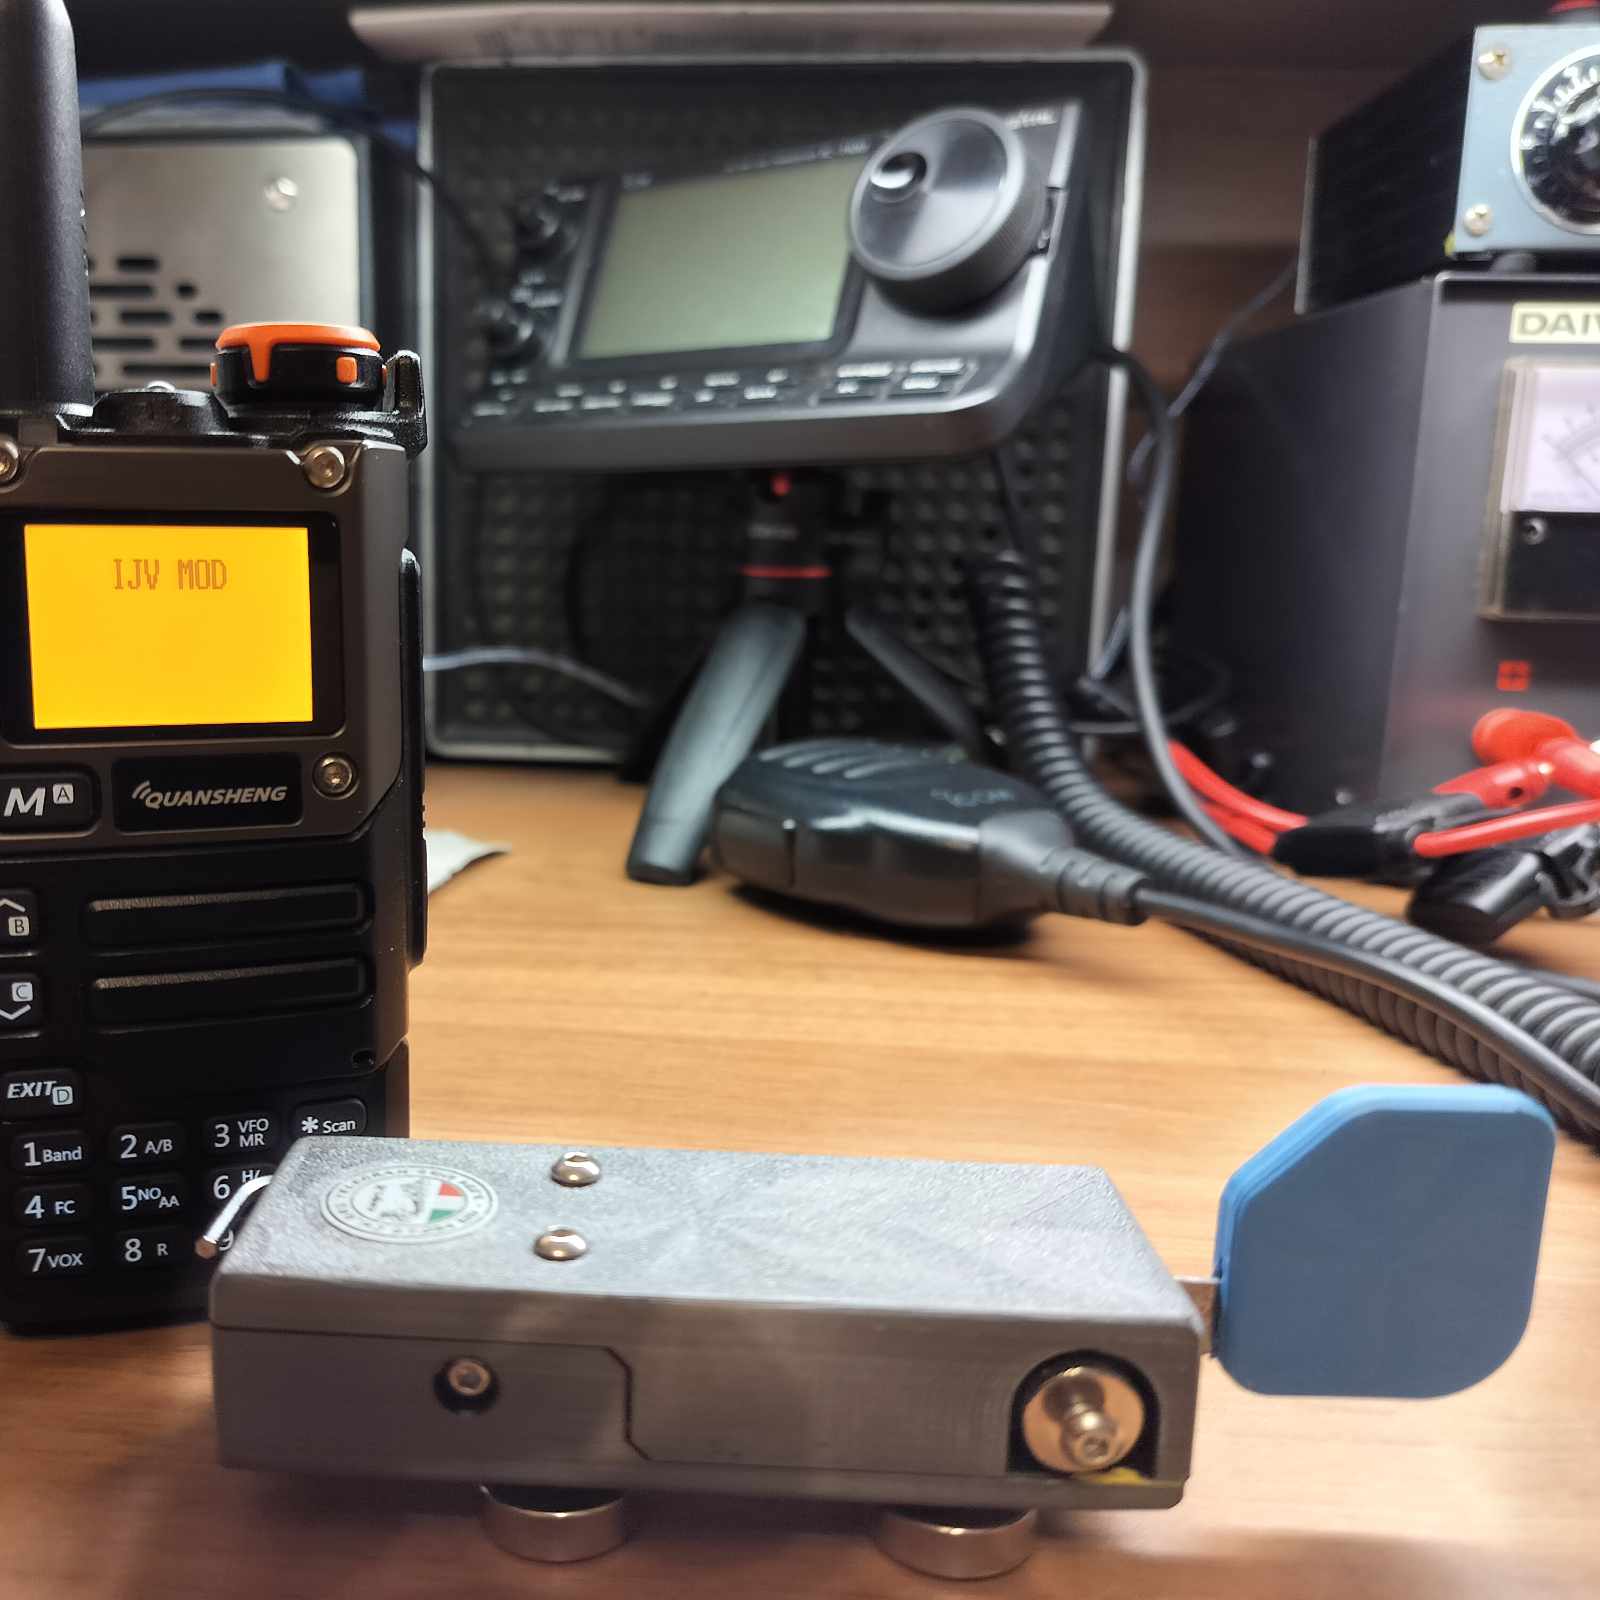
Info |
|
IJV MOD V.x.x, Batt Volt. |
| 48 |
Beacon |
OFF, 5sec, 10sec, 30sec, 1min, 3min, 6min, 10min, 20min.
The Beacon will start after a 30-second wait and works ONLY in CW mode. |
| 49 |
BatSav |
OFF |
OFF, 50%, 67%, 75%, 80% |
| |
It allows the radio to remain active for only a few moments, thus reducing consumption.
The cycle consists of 4 phases of 100mS each, saving on how many times in this cycle the Rx is active or in suspension.
The greater the savings, the lower the performance in reception, especially in scanning. |
| 50 |
dBm/Sm |
S/Meter |
S/Meter, RSSI dB |
| 51 |
SCList |
|
List created after a scan of found frequencies. Deletes after reboot. |
| |
Frequencies preceded by * are those on the blacklist.
Selecting the frequency and pressing Menu tunes the VFO there.
|
| 52 |
Boost |
OFF |
ON, OFF |
|
Activates the filter change circuit for frequencies after 240 MHz and sets the radio chip to a +9dB increase in reception, this once activated remains in memory the next time it is switched on. Similar to a preamplifier, to be used in exceptional cases of low signal because it can cause distortion in listening, switch it off when not needed.
The message RESET BOOST appears. Ideal for SATCOMs.
1- Change the gain indices of the Beken so that it is more sensitive to low signals.
2- Activate the automatic BW function with the choice of the best BW to be adopted.
3- Increase the deflection in TX for greater incisiveness.
4- Increase the AFC as much as possible to compensate for Doppler effects.
|
| 53 |
UpConv |
OFF |
OFF, 50, 125, CUSTOM |
|
Set the radio to operate with a Upconverter for HF band reception.
A value of 50MHz, 125MHz or a custom value (CUSTOM ) entered via CHIRP is automatically subtracted from the frequency shown on the display.
Once the conversion value has been chosen, press F+8R (reverse) to read the actual Rx frequency, ‘Up’ will appear below the frequencies.
Trying to transmit will display ‘TX DISABLE’.
ATTENZIONE: in modalità “CUSTOM” la radio potrà anche trasmettere rischiando di bruciare l’Up-converter.” |
| 54 |
Preset |
|
CB, 70, AIR, VHF 144, VHF 145, UHF 430, LPD, PMR, SERVICES, SAT, SEA, USER |
|
It sets up reception and scanner filters with search limits per selected band.
Each preset is fully customisable with the PrSave and CHIRP menu.
Pressing the M button stores the bands and returns directly to the main VFO screen.
|
| 55 |
Rx AGC |
|
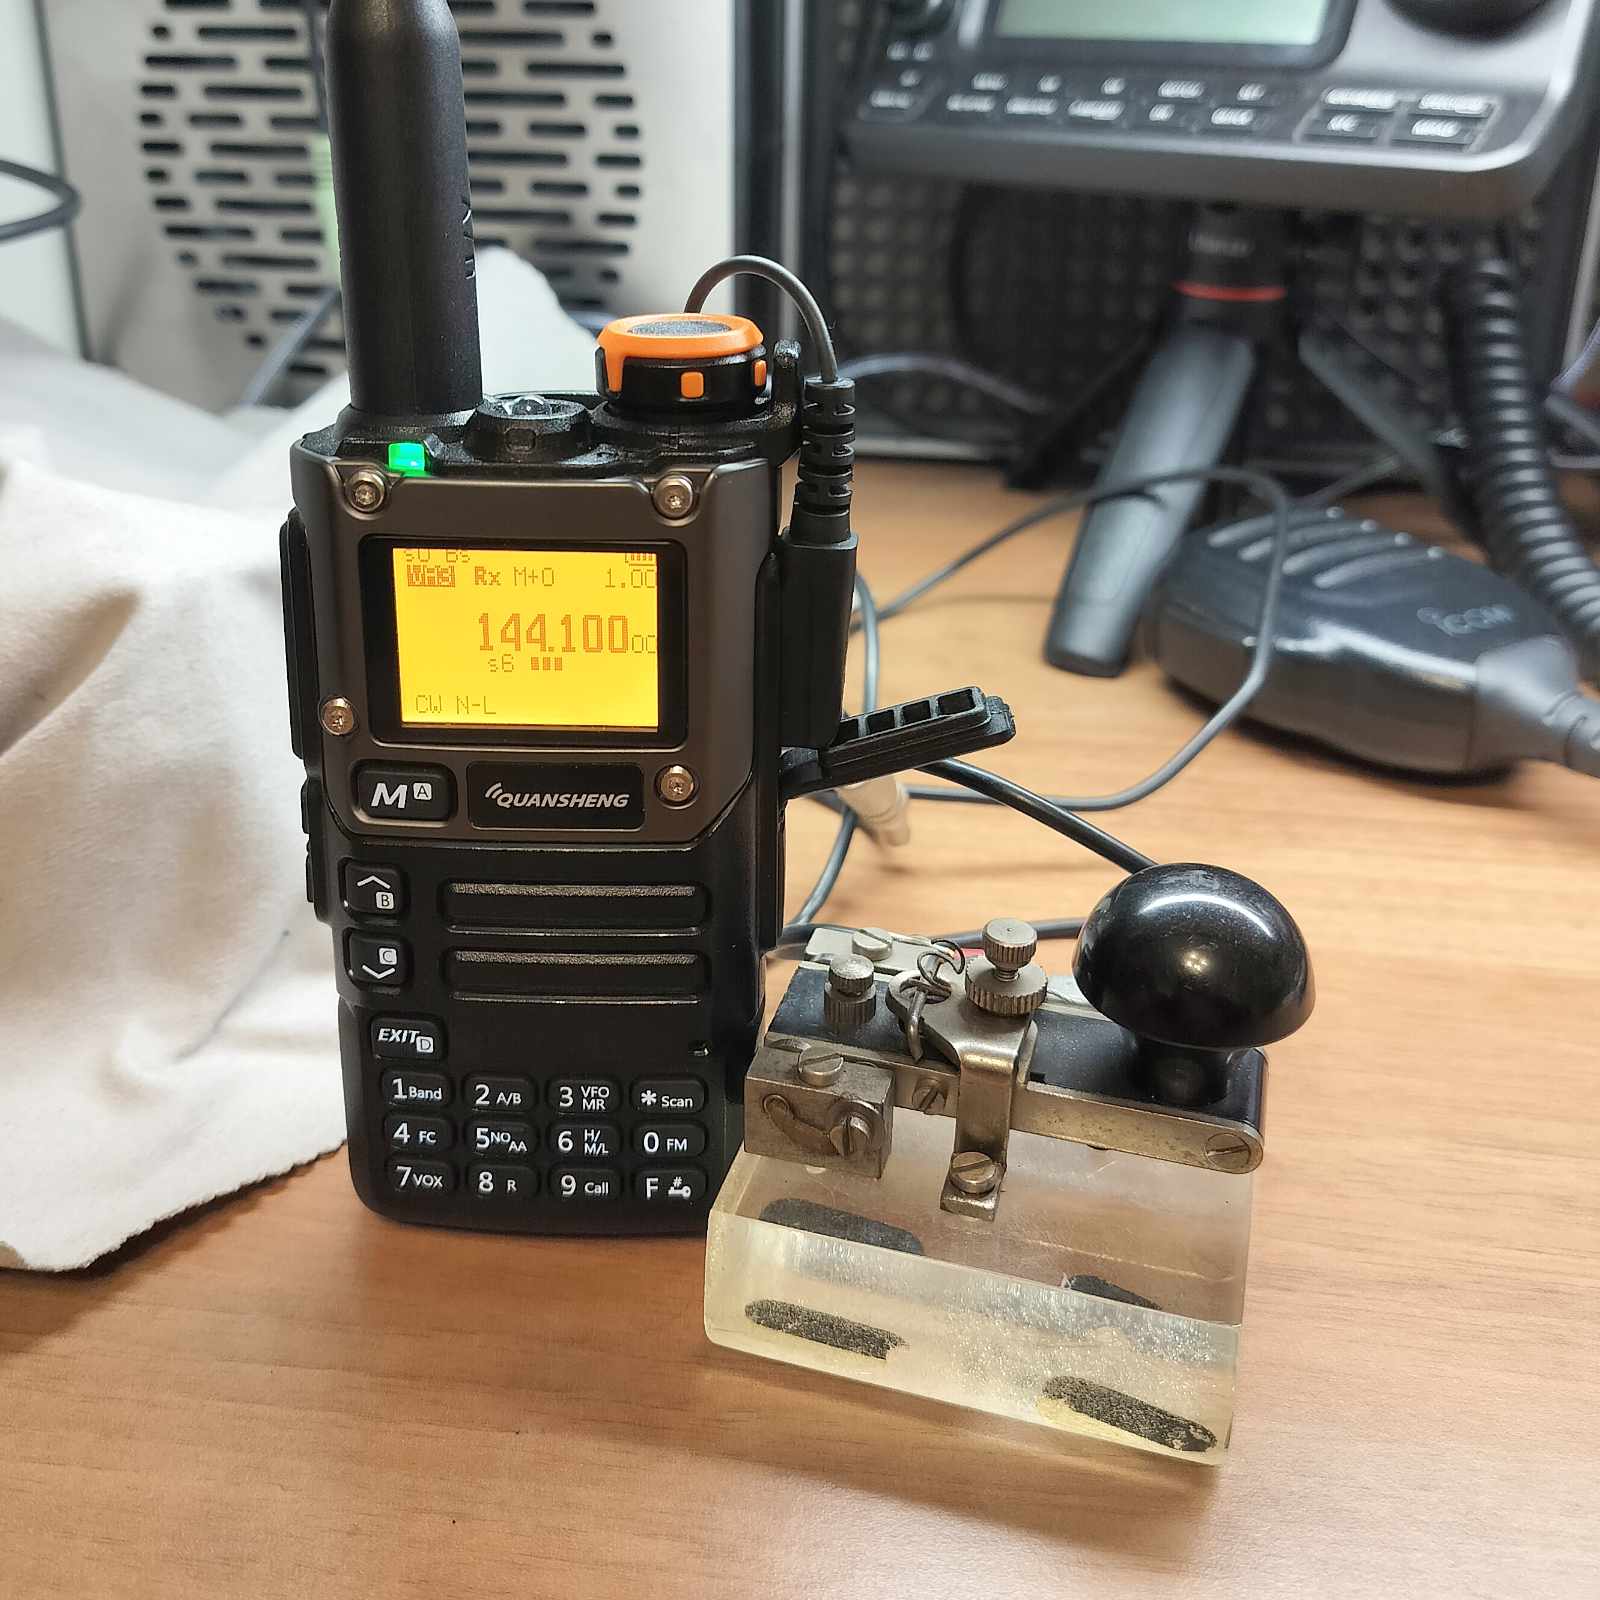
MAN, FAST, NORM, SLOW |
|
Auto Gain Control:
In MAN, the sensitivity of the RF Gain can be changed manually by long-pressing the key 4️⃣FC. It works on FM only.
FAST, NORM or SLOW: determines how quickly or slowly the AGC recovers gain after attenuating a strong signal. Only works on AM, SSB and CW (7.3)
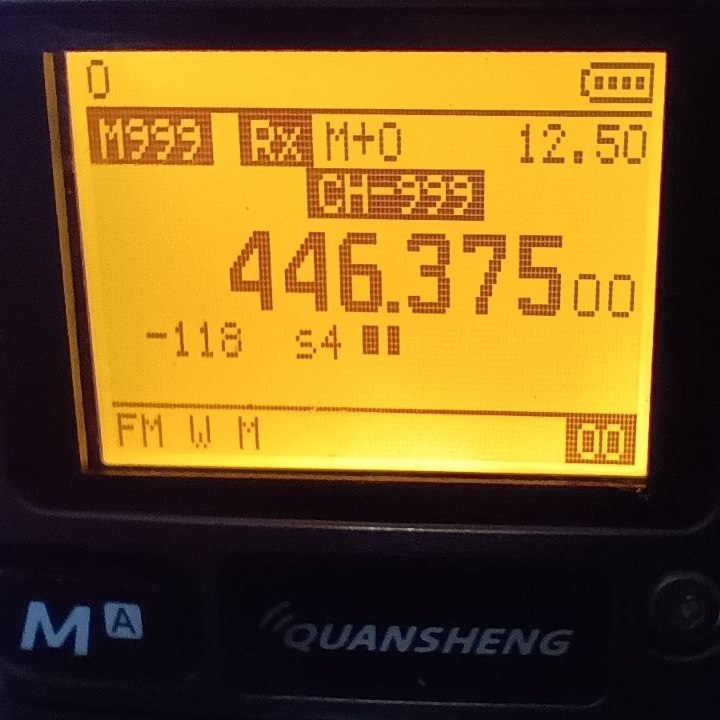
In Rx, it appears to the left of the centre line: M+0, FST, NOR o SLW. |
| 56 |
SetVFO |
|
SINGLE, DUAL, DW NCHG, DW LINK, SPLIT (Dual Watch+Single/Dual VFO) allows two channels to be monitored simultaneously. |
| |
|
SINGLE: Single VFO screen = F+2️⃣A/B.
DOUBLE: Dual VFO screen = F+2️⃣A/B.
DW LOCK: Dual Watch with fixed VFO, receives on both VFOs, but transmits only on the selected one.
DW LINK: Receives on both and switches the active channel to the VFO of the last reception.
SPLIT: Receives only on the non-selected VFO and transmits on the selected one. In FM Broadcast, the radio automatically switches to SPLIT. In dual VFO receive from both VFOs, interrupting the broadcast when there is a signal on the other VFO and then returning to listen to the broadcast. In single VFO receive only the broadcast. |


 A/B.
A/B. Scan.
Scan. FC, then a lightning bolt will appear to the right of the memory to indicate its exclusion from scanning.
 FM.
FM.
 VFOs are called VAx or VBx to make it clear which one is active.